Have you ever wanted to self-host your own homelab but didn’t know how?
Let me show you how I, a 12-year-old, built my own setup — and how you can too.
What even is self hosting?
Self-hosting is when you run services on a computer at home that you control instead of using other people/organization’s servers such as Google Drive or Discord.
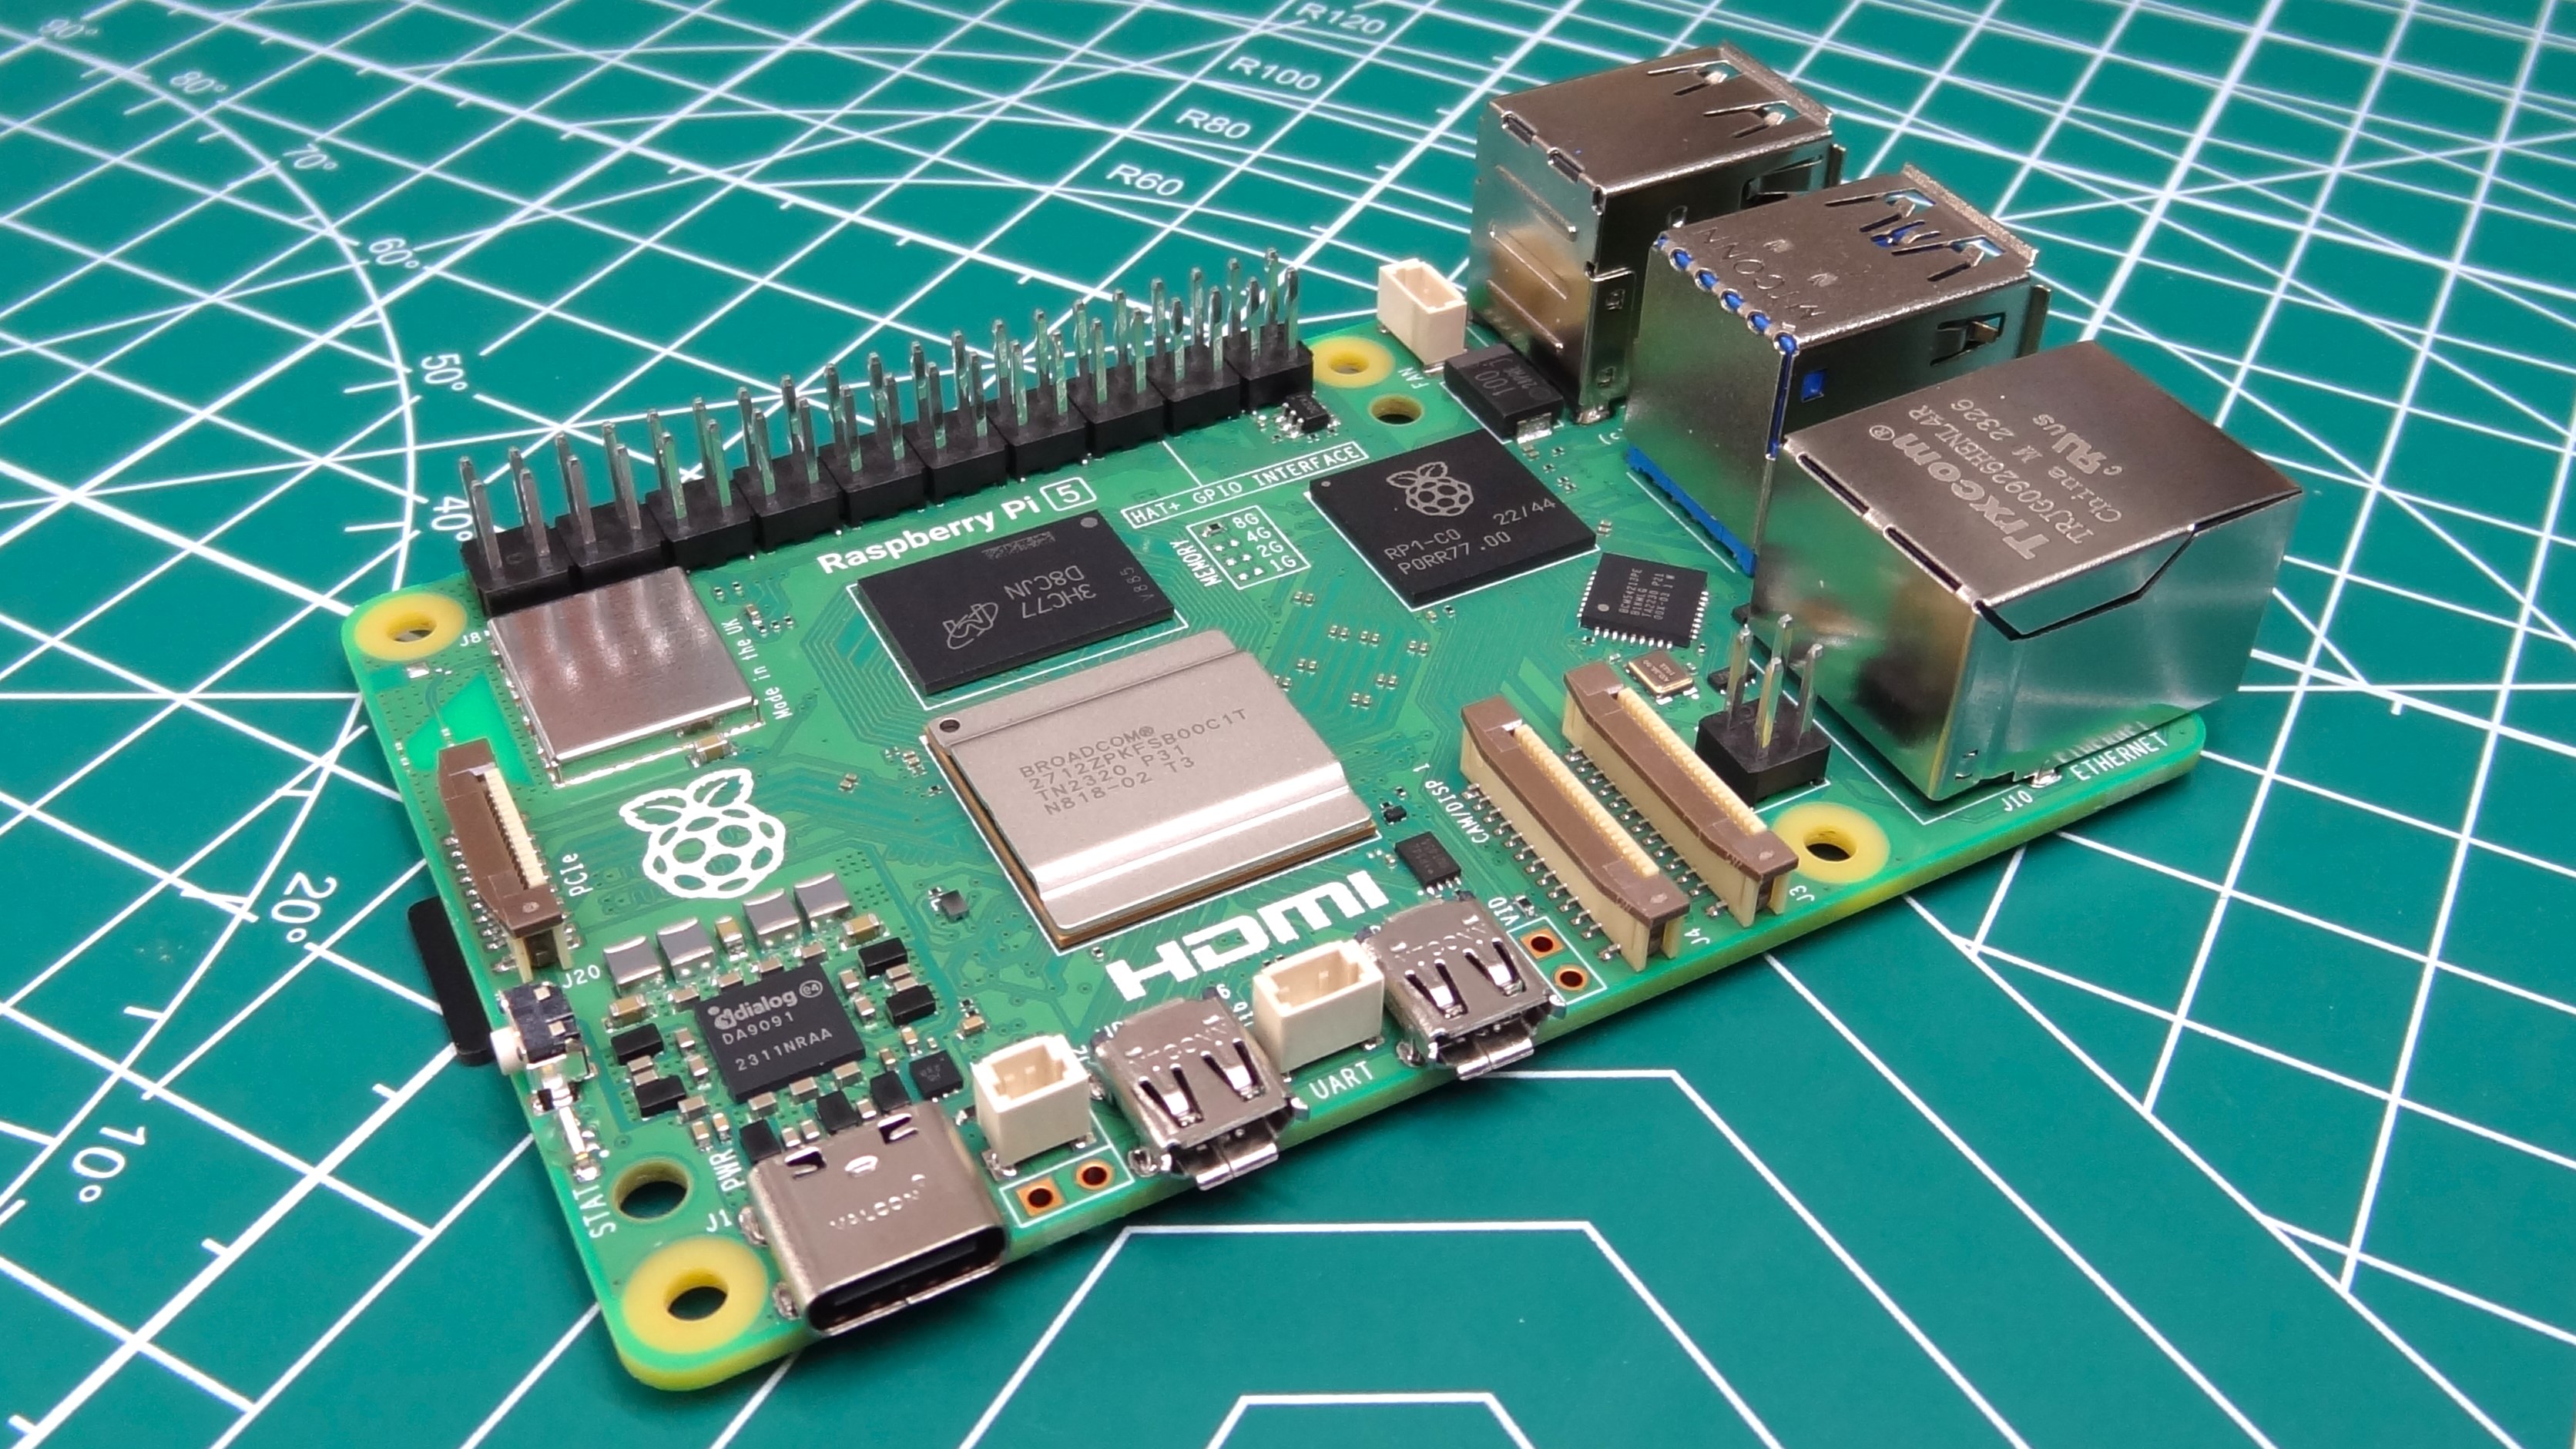
You can use an old laptop, a Raspberry Pi (like me), or even a PC to run things like:
- A website (like this one, which also happens to be self-hosted!)
- A file server for sharing stuff at home — good if you have an old SSD or hard drive laying around!
- A Minecraft server for you and your friends
- A media server to stream movies, TV shows, and Live TV (as long as you have the media)
- A YouTube downloader
- And tons more!
Why self-host?
The main reasons you’d want to self-host is because:
- You want to learn Linux, networking, and sysadmin
- You want full control over your data
- You don’t want Google/other companies tracking you (e.g. self-hosting your own Google Drive alternative to stay away from Google)
- You can make something yours — no subscriptions, no ads
What do you need?
- A computer (even an old laptop or Raspberry Pi will work fine)
- An operating system — preferably Ubuntu for compatibility (or Pi OS if you are using a Pi)
- A network connection (preferably Ethernet, but Wi-Fi will work fine too)
- Access to your router settings (ideally, if you want to make things public)
Getting started
Warning: This guide assumes you have some knowledge of computer networking and shell commands. If you don’t, I recommend learning how to interact with SSH and the Linux terminal before reading this guide.
Alright, enough blabbing — here comes the actual setup.
Installing an OS
The first step is to install an operating system on your computer of choice.
If you are using a Raspberry Pi, follow instructions here to install an OS. Make sure to install Raspberry Pi OS Lite if you don’t plan to use any GUI apps — which for this setup, we won’t.
If you’re not using a Raspberry Pi, you can install Ubuntu Server on your old laptop or PC.
Just download the ISO, then flash it to a USB stick using Rufus (on Windows) or balenaEtcher (on macOS/Linux) and follow the setup prompts.
After installing your OS, remember to run the following command to update all packages:
sudo apt update -y && sudo apt upgrade -y
Installing Docker (and Portainer for easy management)
Technically, this step is optional - but it’s very important and almost required to follow this tutorial.
Docker is a piece of software that allows you to place different services in containers/sandboxes. This allows you to easily spin up services and keep them isolated from others, protecting your system installation and providing another layer of security.
If you are using a Raspberry Pi, I recommend following the instructions from the pi-hosted GitHub repo to get Docker and Portainer up and running with specialized app templates for Pi devices. This script may work on other non-Pi devices, but your mileage may vary and it is not recommended.
(Disclaimer: The repository mentioned above, pi-hosted, is not affiliated nor endorsed by the Raspberry Pi Foundation.)
If you’re not using a Raspberry Pi, you can install Docker and Portainer quickly with the following guide(s).
Install Docker on non-Pi devices
Note: This guide and the following do work for Raspberry Pi devices, but it is easier to use the script from the repo above to get up and running quicker.
-
Refresh the package list:
sudo apt update -
Install the necessary packages:
sudo apt install ca-certificates curlWhen prompted, press Y and Enter to begin the installation.
-
Set the necessary permissions for the /etc/apt/keyrings directory:
sudo install -m 0755 -d /etc/apt/keyrings -
Use the curl command to download the GPG key:
sudo curl -fsSL https://download.docker.com/linux/ubuntu/gpg -o /etc/apt/keyrings/docker.asc -
Change the permissions of the key file:
sudo chmod a+r /etc/apt/keyrings/docker.asc -
Add the Docker repo to the APT sources list:
echo \ "deb [arch=$(dpkg --print-architecture) signed-by=/etc/apt/keyrings/docker.asc] https://download.docker.com/linux/ubuntu \ $(. /etc/os-release && echo "${UBUNTU_CODENAME:-$VERSION_CODENAME}") stable" | \ sudo tee /etc/apt/sources.list.d/docker.list > /dev/null -
Refresh the package list:
sudo apt update -
Install Docker packages
sudo apt install docker-ce docker-ce-cli containerd.io docker-compose-plugin docker-buildx-plugin -y -
Create the
dockergroup for non-root user access:sudo groupadd -f docker -
Add the current user to the docker group:
sudo usermod -aG docker $USERTo add a user other than the current user, add their username instead of $USER like so:
sudo usermod -aG docker [username] -
Apply the new group membership changes:
newgrp docker -
Reboot your device to ensure all changes have been applied:
sudo reboot
Install Portainer on non-Pi devices
Next, we need to install Portainer. Don’t worry, this will be much less complicated than the docker install.
- Create the Docker volume for Portainer’s data:
docker volume create portainer_data - Fetch and start the Portainer Server container:
docker run -d -p 8000:8000 -p 9443:9443 --name portainer --restart=always -v /var/run/docker.sock:/var/run/docker.sock -v portainer_data:/data portainer/portainer-ce:lts
Portainer has now been installed. You can check to see whether it has started by running the following command:
docker ps
The output should look somewhat like the following:
root@server:~# docker ps
CONTAINER ID   IMAGE                        COMMAND        CREATED         STATUS         PORTS                                                                                                NAMES
7963585688a9   portainer/portainer-ce:lts   "/portainer"   8 seconds ago   Up 8 seconds   0.0.0.0:8000->8000/tcp, [::]:8000->8000/tcp, 0.0.0.0:9443->9443/tcp, [::]:9443->9443/tcp, 9000/tcp   portainer
If the container’s status is marked as “Up”, congrats! Docker and Portainer are both up and running!
You can now access the dashboard & admin console at https://<your-server-ip>:9443.
First apps to try
Now that you’ve got Docker and Portainer installed, you’re ready to start installing services/apps on your new home server.
Here’s a list of the first apps you should install:
-
An ad blocker that blocks ads on the network-level, before they even reach your device. (Note: This does not block YouTube ads.)
Installation instructions: https://docs.pi-hole.net/docker/
-
A docker container that contains an easy configurable Minecraft Server with full support for Fabric/Forge/Paper and other server versions. Great for hosting a small server with friends. (Note: It is recommended to use this with an official Pi 5 Active Cooler if using a Pi to make sure it doesn’t get too hot.)
Installation instructions: https://docker-minecraft-server.readthedocs.io/en/latest/
-
A simple YouTube downloader webapp based on yt-dlp.
Installation instructions: https://github.com/alexta69/metube
-
An easy way to get a WireGuard VPN/tunnel up and running. Useful to access your home network/local services when away from home.
Installation instructions: https://wg-easy.github.io/wg-easy/latest/getting-started/
-
A simple server/reverse proxy for hosting web apps, sites, and much more. Comes with HTTPS support (via Let’s Encrypt) out of the box, making it easier to get up and running fast.
Installation instructions: https://caddyserver.com/docs/install
-
A lightweight music streaming service for your personal media collection, kind of like a Spotify alternative.
Installation instructions: https://www.navidrome.org/docs/installation/docker/
-
A media streaming service that allows you to stream your own collection of videos, music, and more content.
Installation instructions: https://github.com/plexinc/pms-docker
-
An open-source media streaming service that allows you to stream your own collection of videos, music, and more content.
Installation instructions: https://jellyfin.org/docs/general/installation/container
-
A server that allows you to access a full VS Code development environment in your browser. Useful for coding on-the-go, especially when paired with a WireGuard VPN.
Installation instructions: https://coder.com/docs/code-server/install#docker
Wrapping up
Finally, you’re done setting up your home server! It wasn’t as hard as you thought, right?
Now that you’ve got a home server up and running, experiment with it! Have a try installing more apps, or setting up more advanced containers!
There are so many more apps, containers, and other things to explore on your home server beyond what I’ve mentioned here. Just give it a try!
Happy self-hosting!